> ## Documentation Index
> Fetch the complete documentation index at: https://docs.baimoqilin.com/llms.txt
> Use this file to discover all available pages before exploring further.
# Using the GUI
> Send requests, view streaming responses, manage sessions, and browse assets from the in-game overlay.
MineClawd includes a dedicated overlay window that sits on top of your game. You can type requests, watch responses stream in real time, switch sessions, and manage assets without ever touching the chat box.
The GUI requires MineClawd installed on your client. On a dedicated server, install MineClawd on both the server and each player's client.
## Opening the overlay
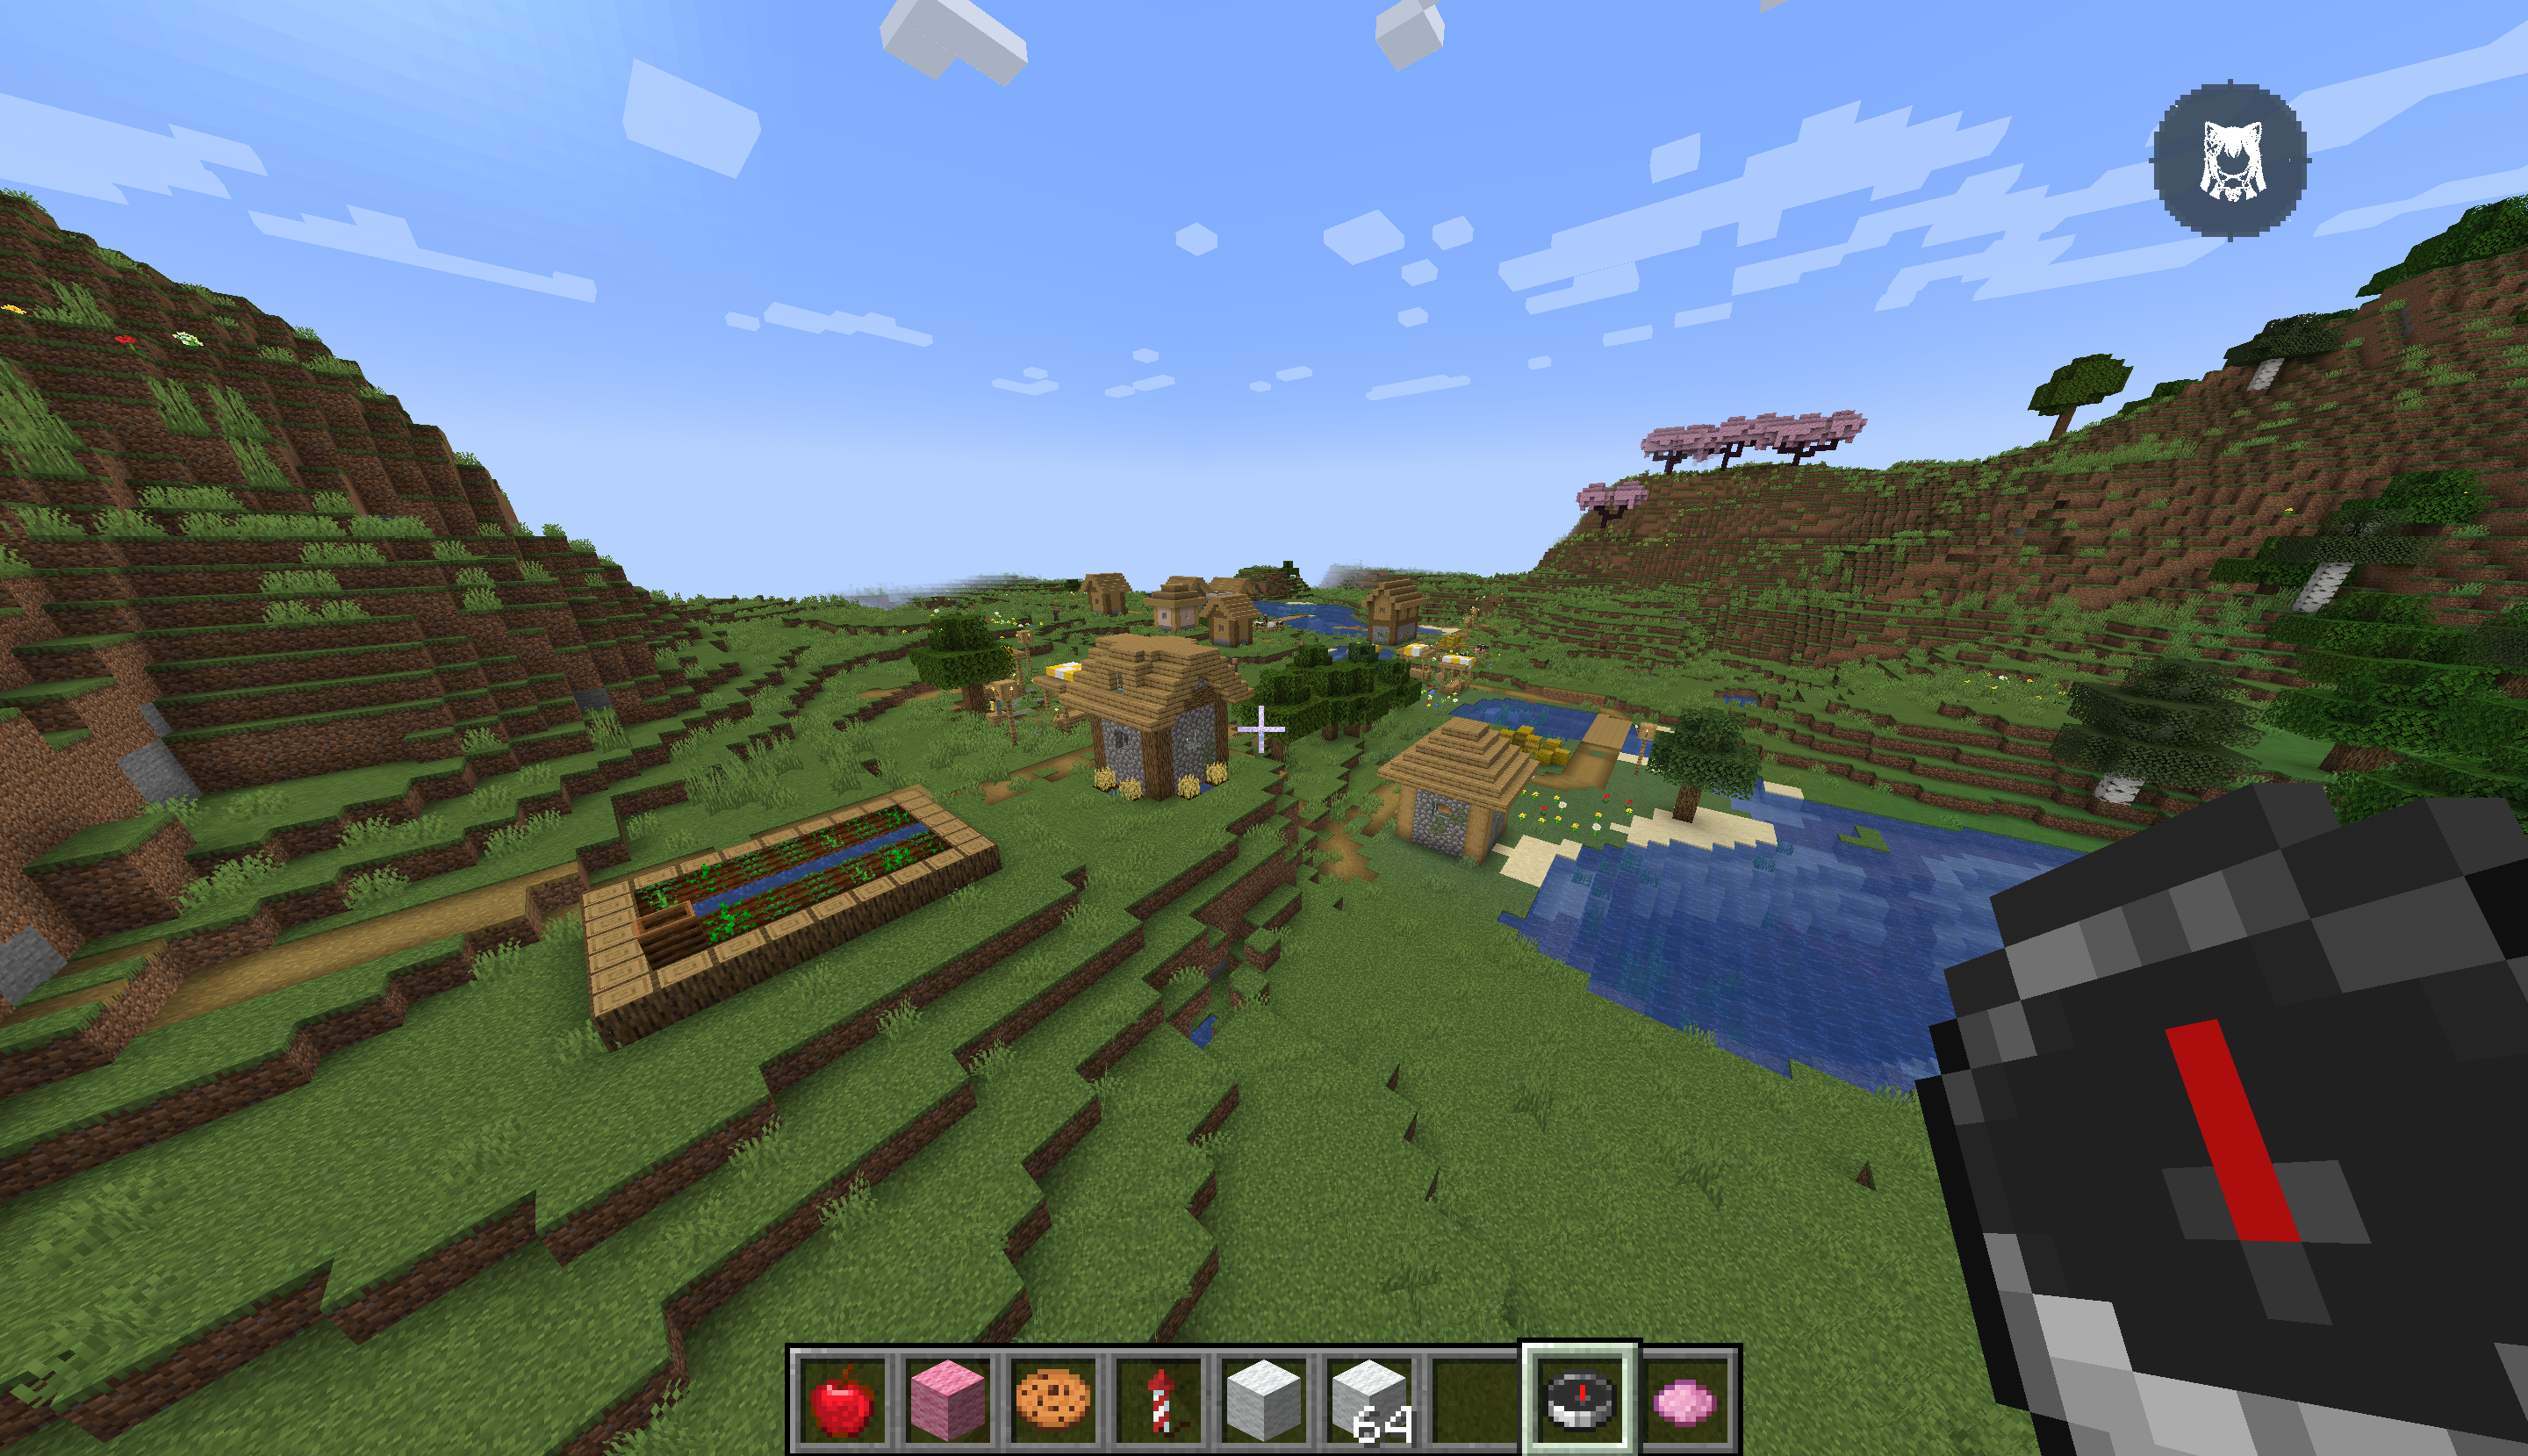
The overlay appears as a floating orb (AssistiveTouch) on the left side of your screen. Click the orb to expand the full overlay window.
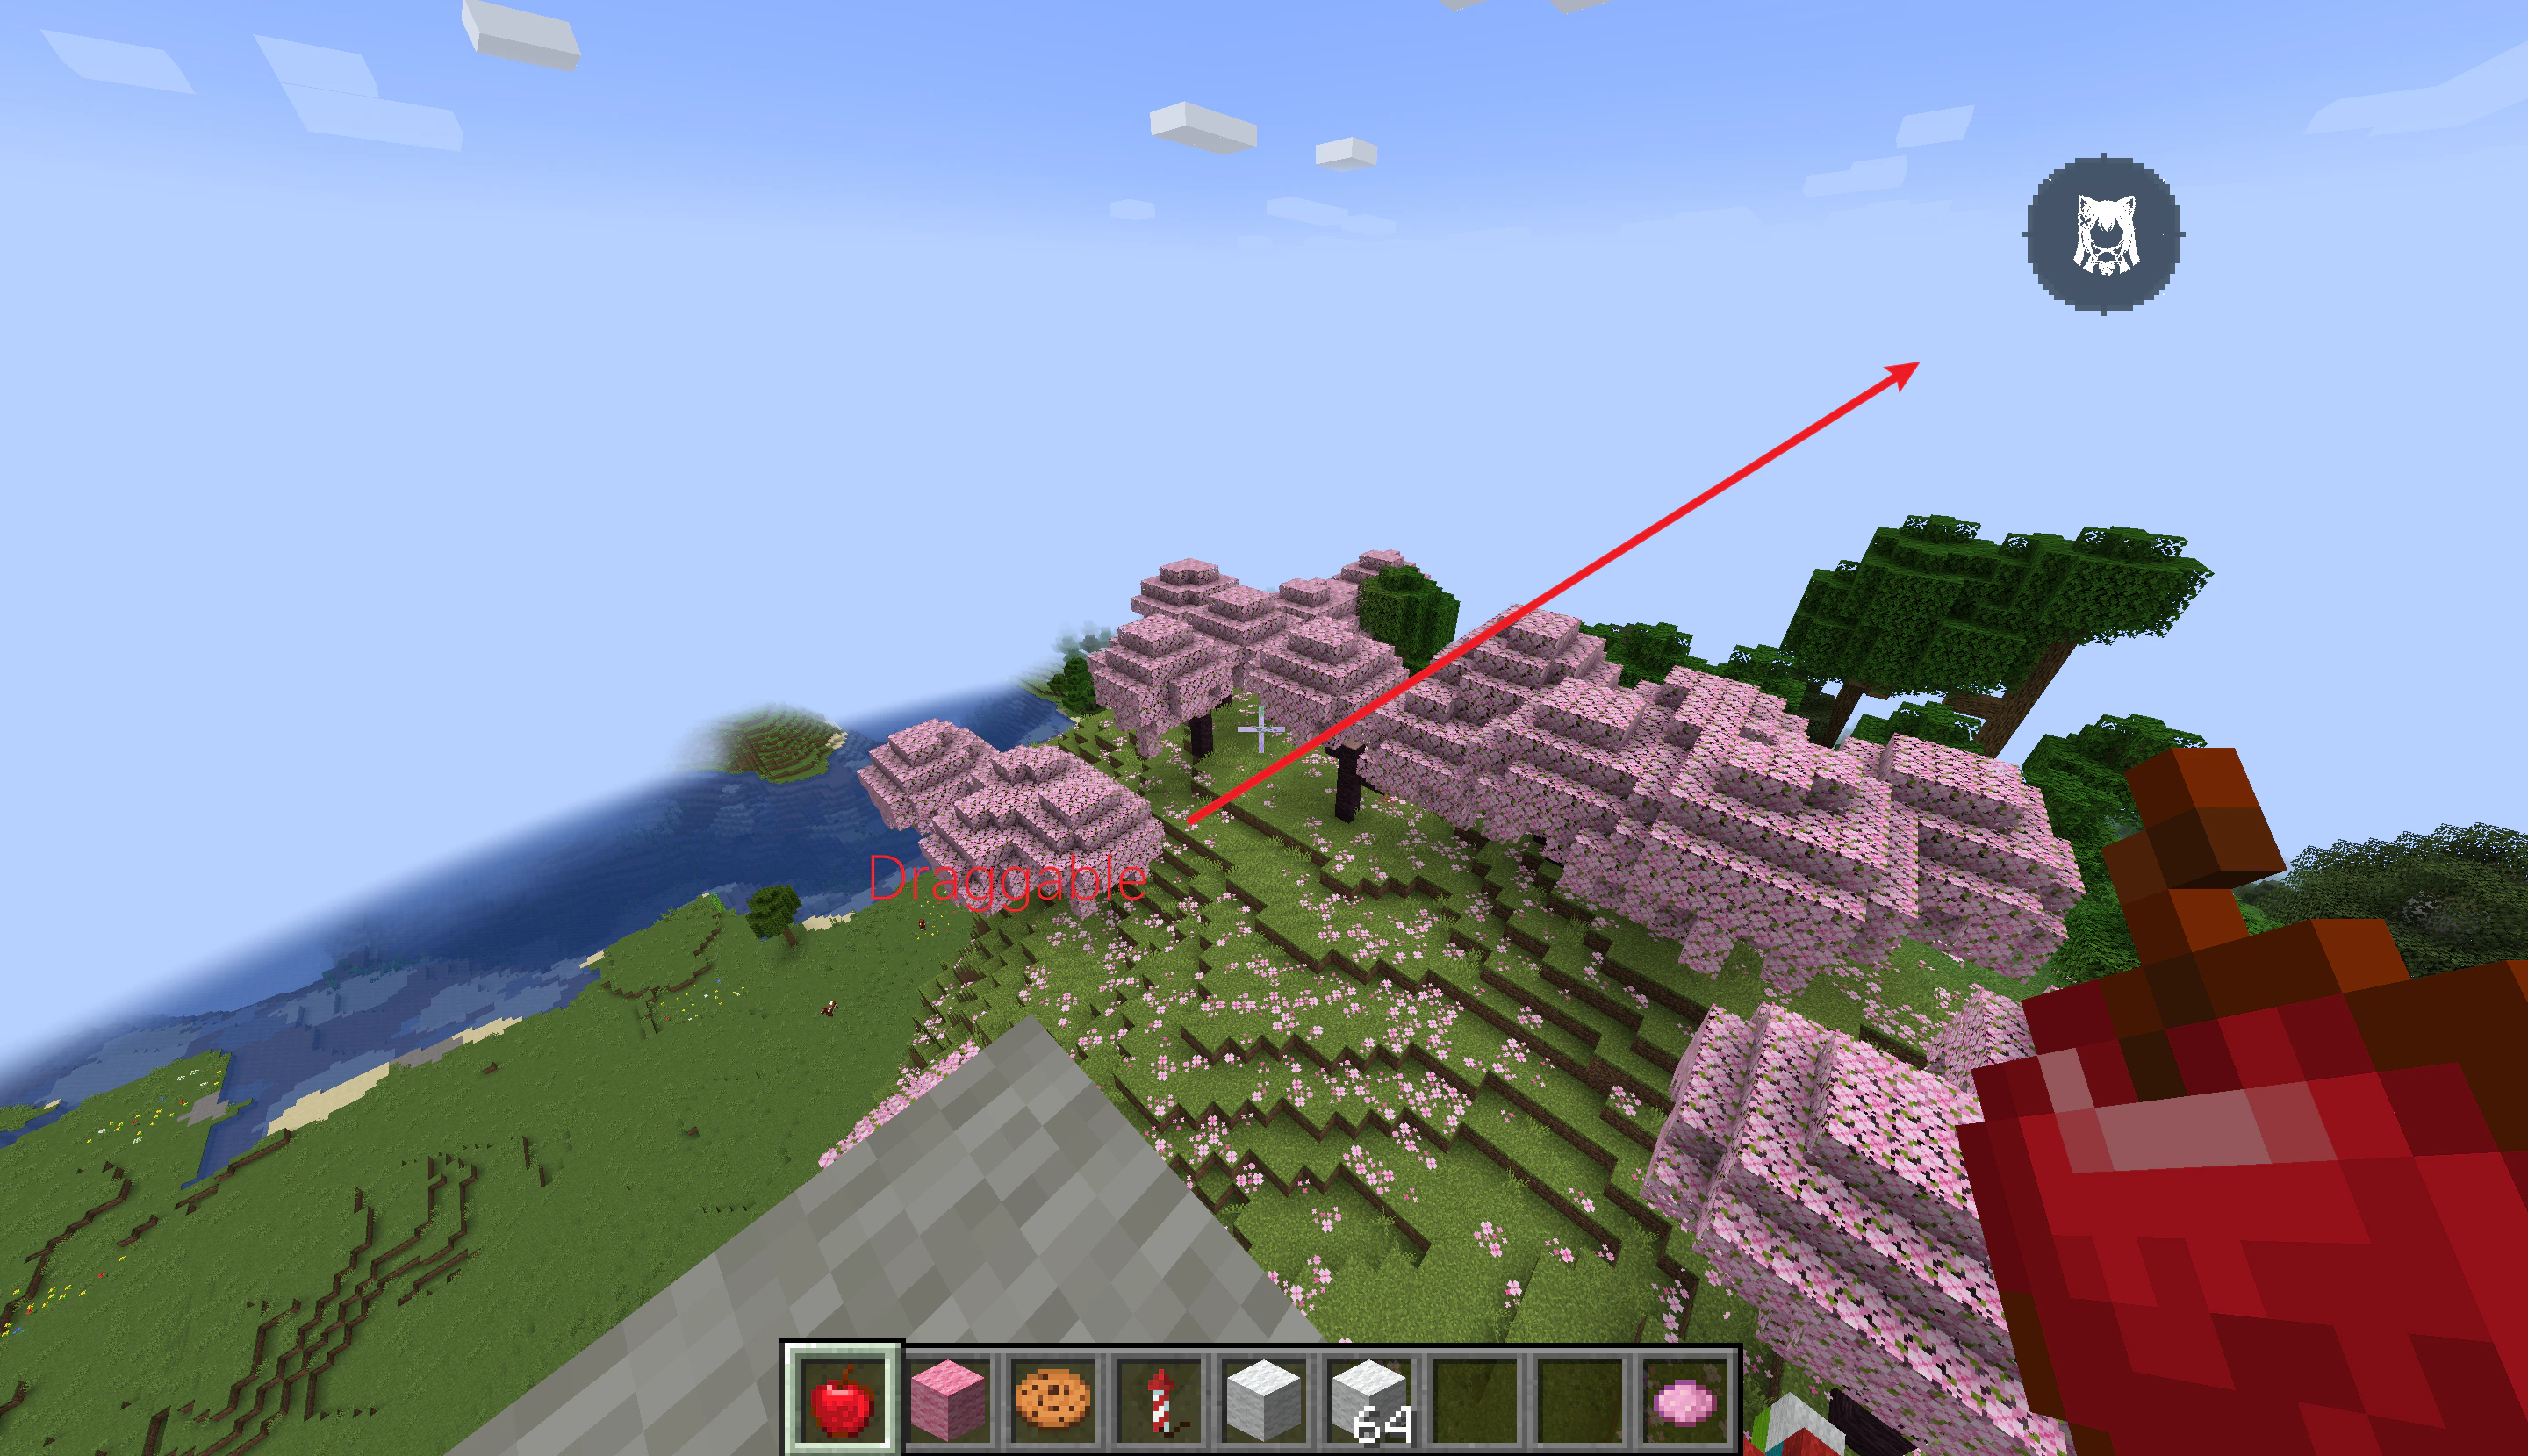 The orb is visible only to players with OP level 2. If you do not see it, check your permissions and make sure `Enable GUI` is turned on in the config screen (**Mod Menu** -> **MineClawd** -> **Configure**).
## Overlay layout
The expanded overlay has three parts:
1. **Header bar** -- shows the current mode (Response, Sessions, or Assets), the active soul name, and status indicators like "Streaming" or "Question". Three buttons sit on the right: a menu icon, a minimize button, and a close button.
2. **Content area** -- displays conversation history, session list, or asset inventory depending on the active mode.
3. **Input bar** -- a text field where you type requests, with a **Send** button that becomes a **Stop** button during generation.
You can drag the overlay by its header and resize it from the bottom-right corner.
## Sending a request
Type your request in the input bar at the bottom of the overlay and click **Send** (or press Enter). This works exactly like `/mclawd ` but without opening the chat box.
The orb is visible only to players with OP level 2. If you do not see it, check your permissions and make sure `Enable GUI` is turned on in the config screen (**Mod Menu** -> **MineClawd** -> **Configure**).
## Overlay layout
The expanded overlay has three parts:
1. **Header bar** -- shows the current mode (Response, Sessions, or Assets), the active soul name, and status indicators like "Streaming" or "Question". Three buttons sit on the right: a menu icon, a minimize button, and a close button.
2. **Content area** -- displays conversation history, session list, or asset inventory depending on the active mode.
3. **Input bar** -- a text field where you type requests, with a **Send** button that becomes a **Stop** button during generation.
You can drag the overlay by its header and resize it from the bottom-right corner.
## Sending a request
Type your request in the input bar at the bottom of the overlay and click **Send** (or press Enter). This works exactly like `/mclawd ` but without opening the chat box.
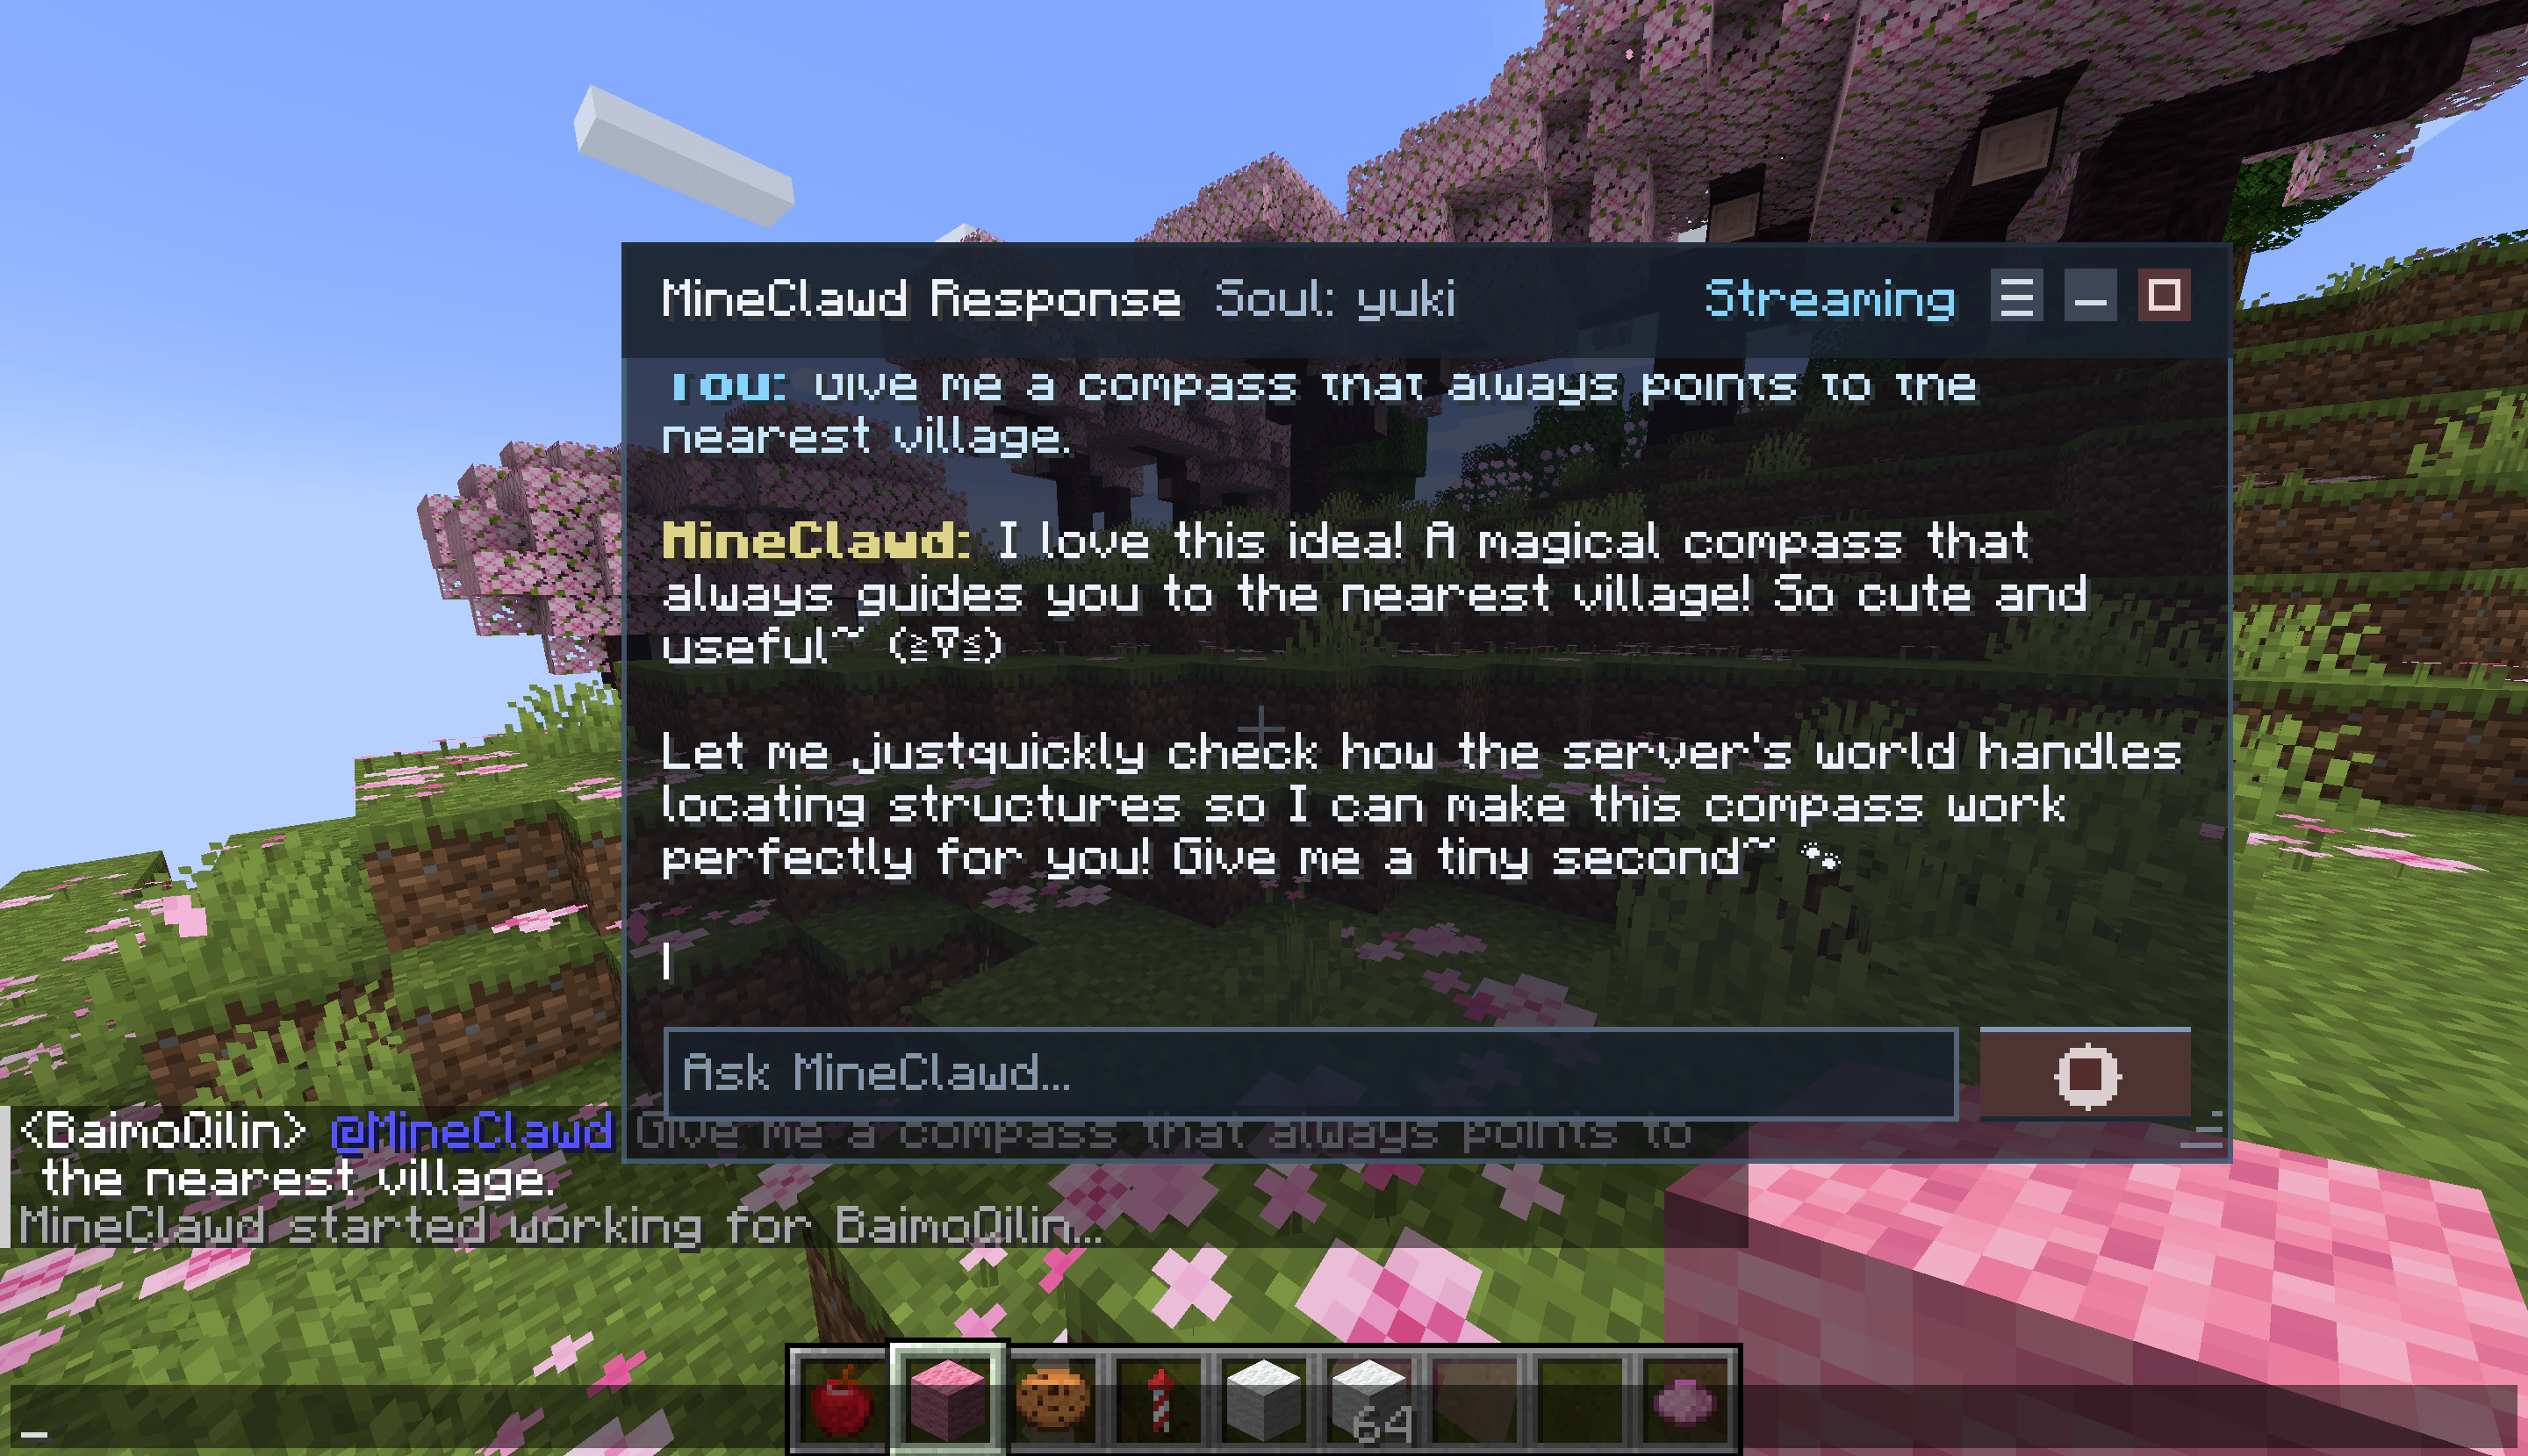 While MineClawd is working:
* A blinking cursor follows the latest text.
* The header shows **Streaming** status.
* An animated tool status indicator appears when MineClawd calls a tool, showing the tool name in real time.
* The **Send** button becomes a **Stop** button. Click it to cancel the active request (same as `/mineclawd stop`).
* The AssistiveTouch orb shows a pulsing dot when the overlay is minimized.
While MineClawd is working:
* A blinking cursor follows the latest text.
* The header shows **Streaming** status.
* An animated tool status indicator appears when MineClawd calls a tool, showing the tool name in real time.
* The **Send** button becomes a **Stop** button. Click it to cancel the active request (same as `/mineclawd stop`).
* The AssistiveTouch orb shows a pulsing dot when the overlay is minimized.
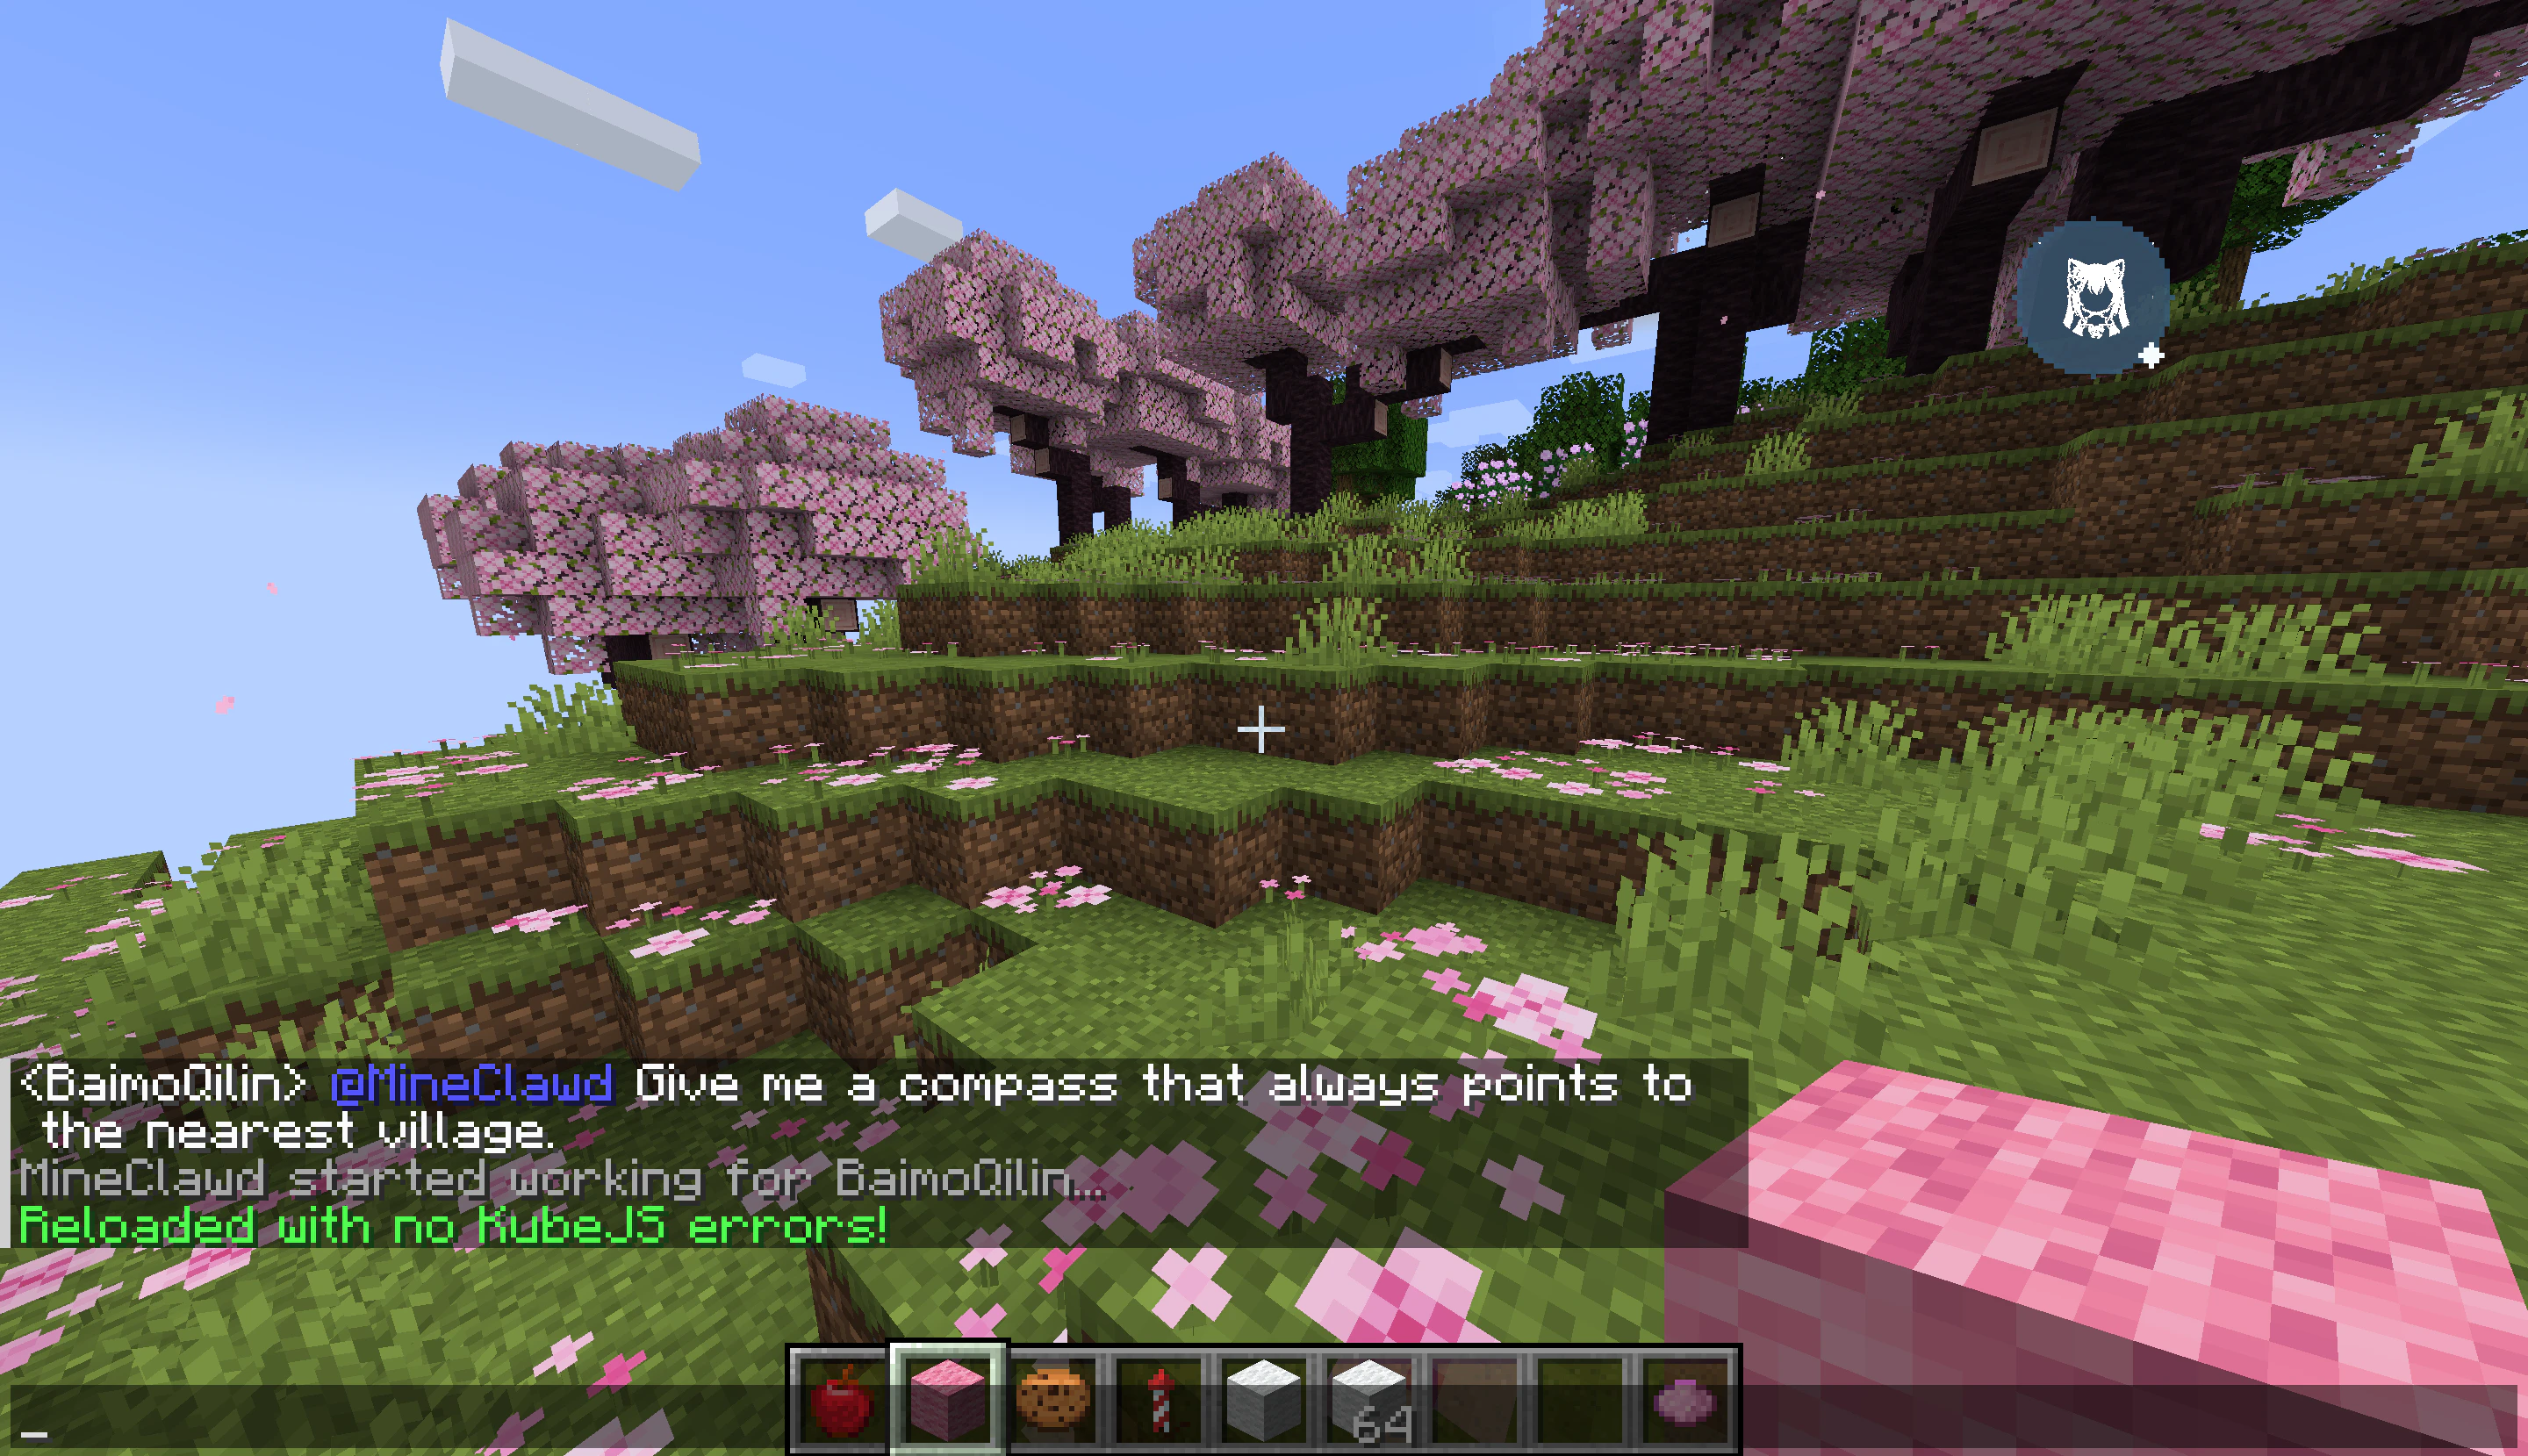
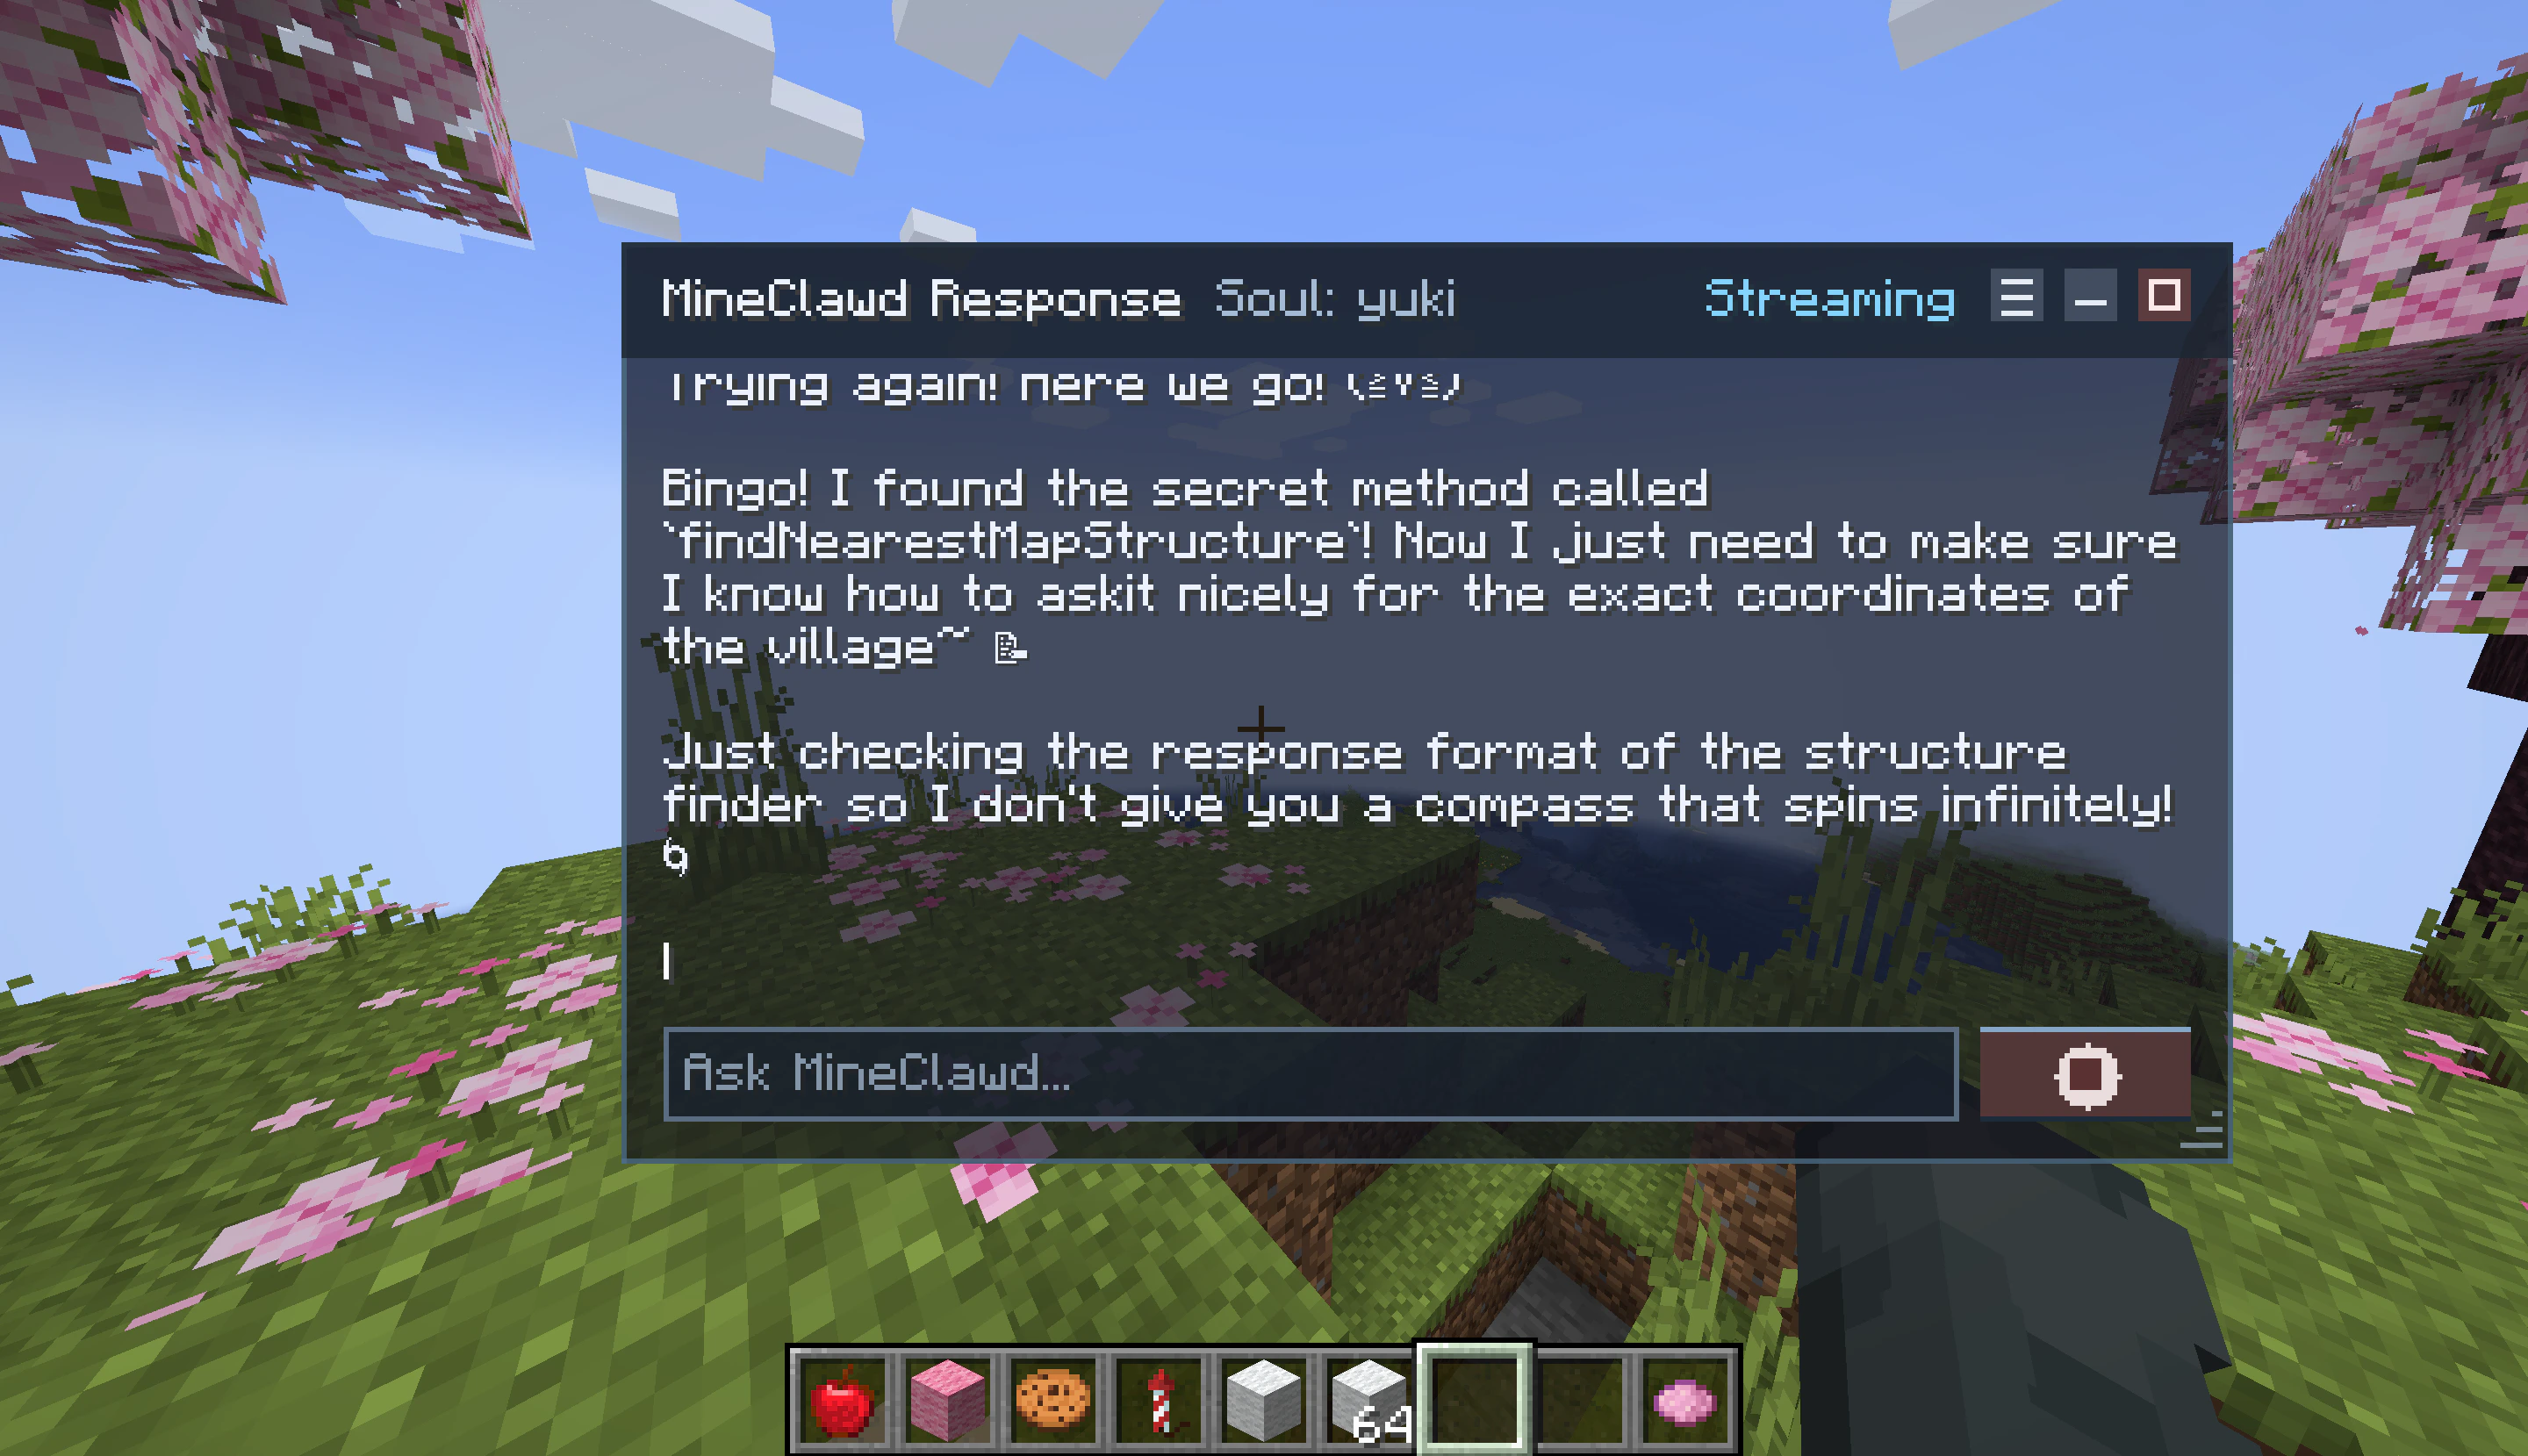 Once MineClawd finishes, the result appears in the conversation history.
 ## Message display
Messages are color-coded for readability:
* **You:** messages appear in blue tones.
* **MineClawd:** messages appear in gold/white tones, with one prefix per assistant turn even when tool calls split the response.
If MineClawd asks a clarification question (via `ask-user-question`), option buttons appear inline with a built-in **Other** option. Pick an option, type a custom answer via **Other**, or click **Skip** to let the countdown expire.
## Using the menu
Click the hamburger icon in the header to open the menu dropdown. It has four entries:
| Entry | What it does |
| ------------ | --------------------------------------------- |
| **Config** | Opens the YACL config screen. |
| **Sessions** | Switches the overlay to session list mode. |
| **Assets** | Switches the overlay to asset inventory mode. |
| **Persona** | Cycles through available souls (personas). |
## Managing sessions from the overlay
Click **Sessions** in the menu to see all saved sessions in a scrollable list.
## Message display
Messages are color-coded for readability:
* **You:** messages appear in blue tones.
* **MineClawd:** messages appear in gold/white tones, with one prefix per assistant turn even when tool calls split the response.
If MineClawd asks a clarification question (via `ask-user-question`), option buttons appear inline with a built-in **Other** option. Pick an option, type a custom answer via **Other**, or click **Skip** to let the countdown expire.
## Using the menu
Click the hamburger icon in the header to open the menu dropdown. It has four entries:
| Entry | What it does |
| ------------ | --------------------------------------------- |
| **Config** | Opens the YACL config screen. |
| **Sessions** | Switches the overlay to session list mode. |
| **Assets** | Switches the overlay to asset inventory mode. |
| **Persona** | Cycles through available souls (personas). |
## Managing sessions from the overlay
Click **Sessions** in the menu to see all saved sessions in a scrollable list.
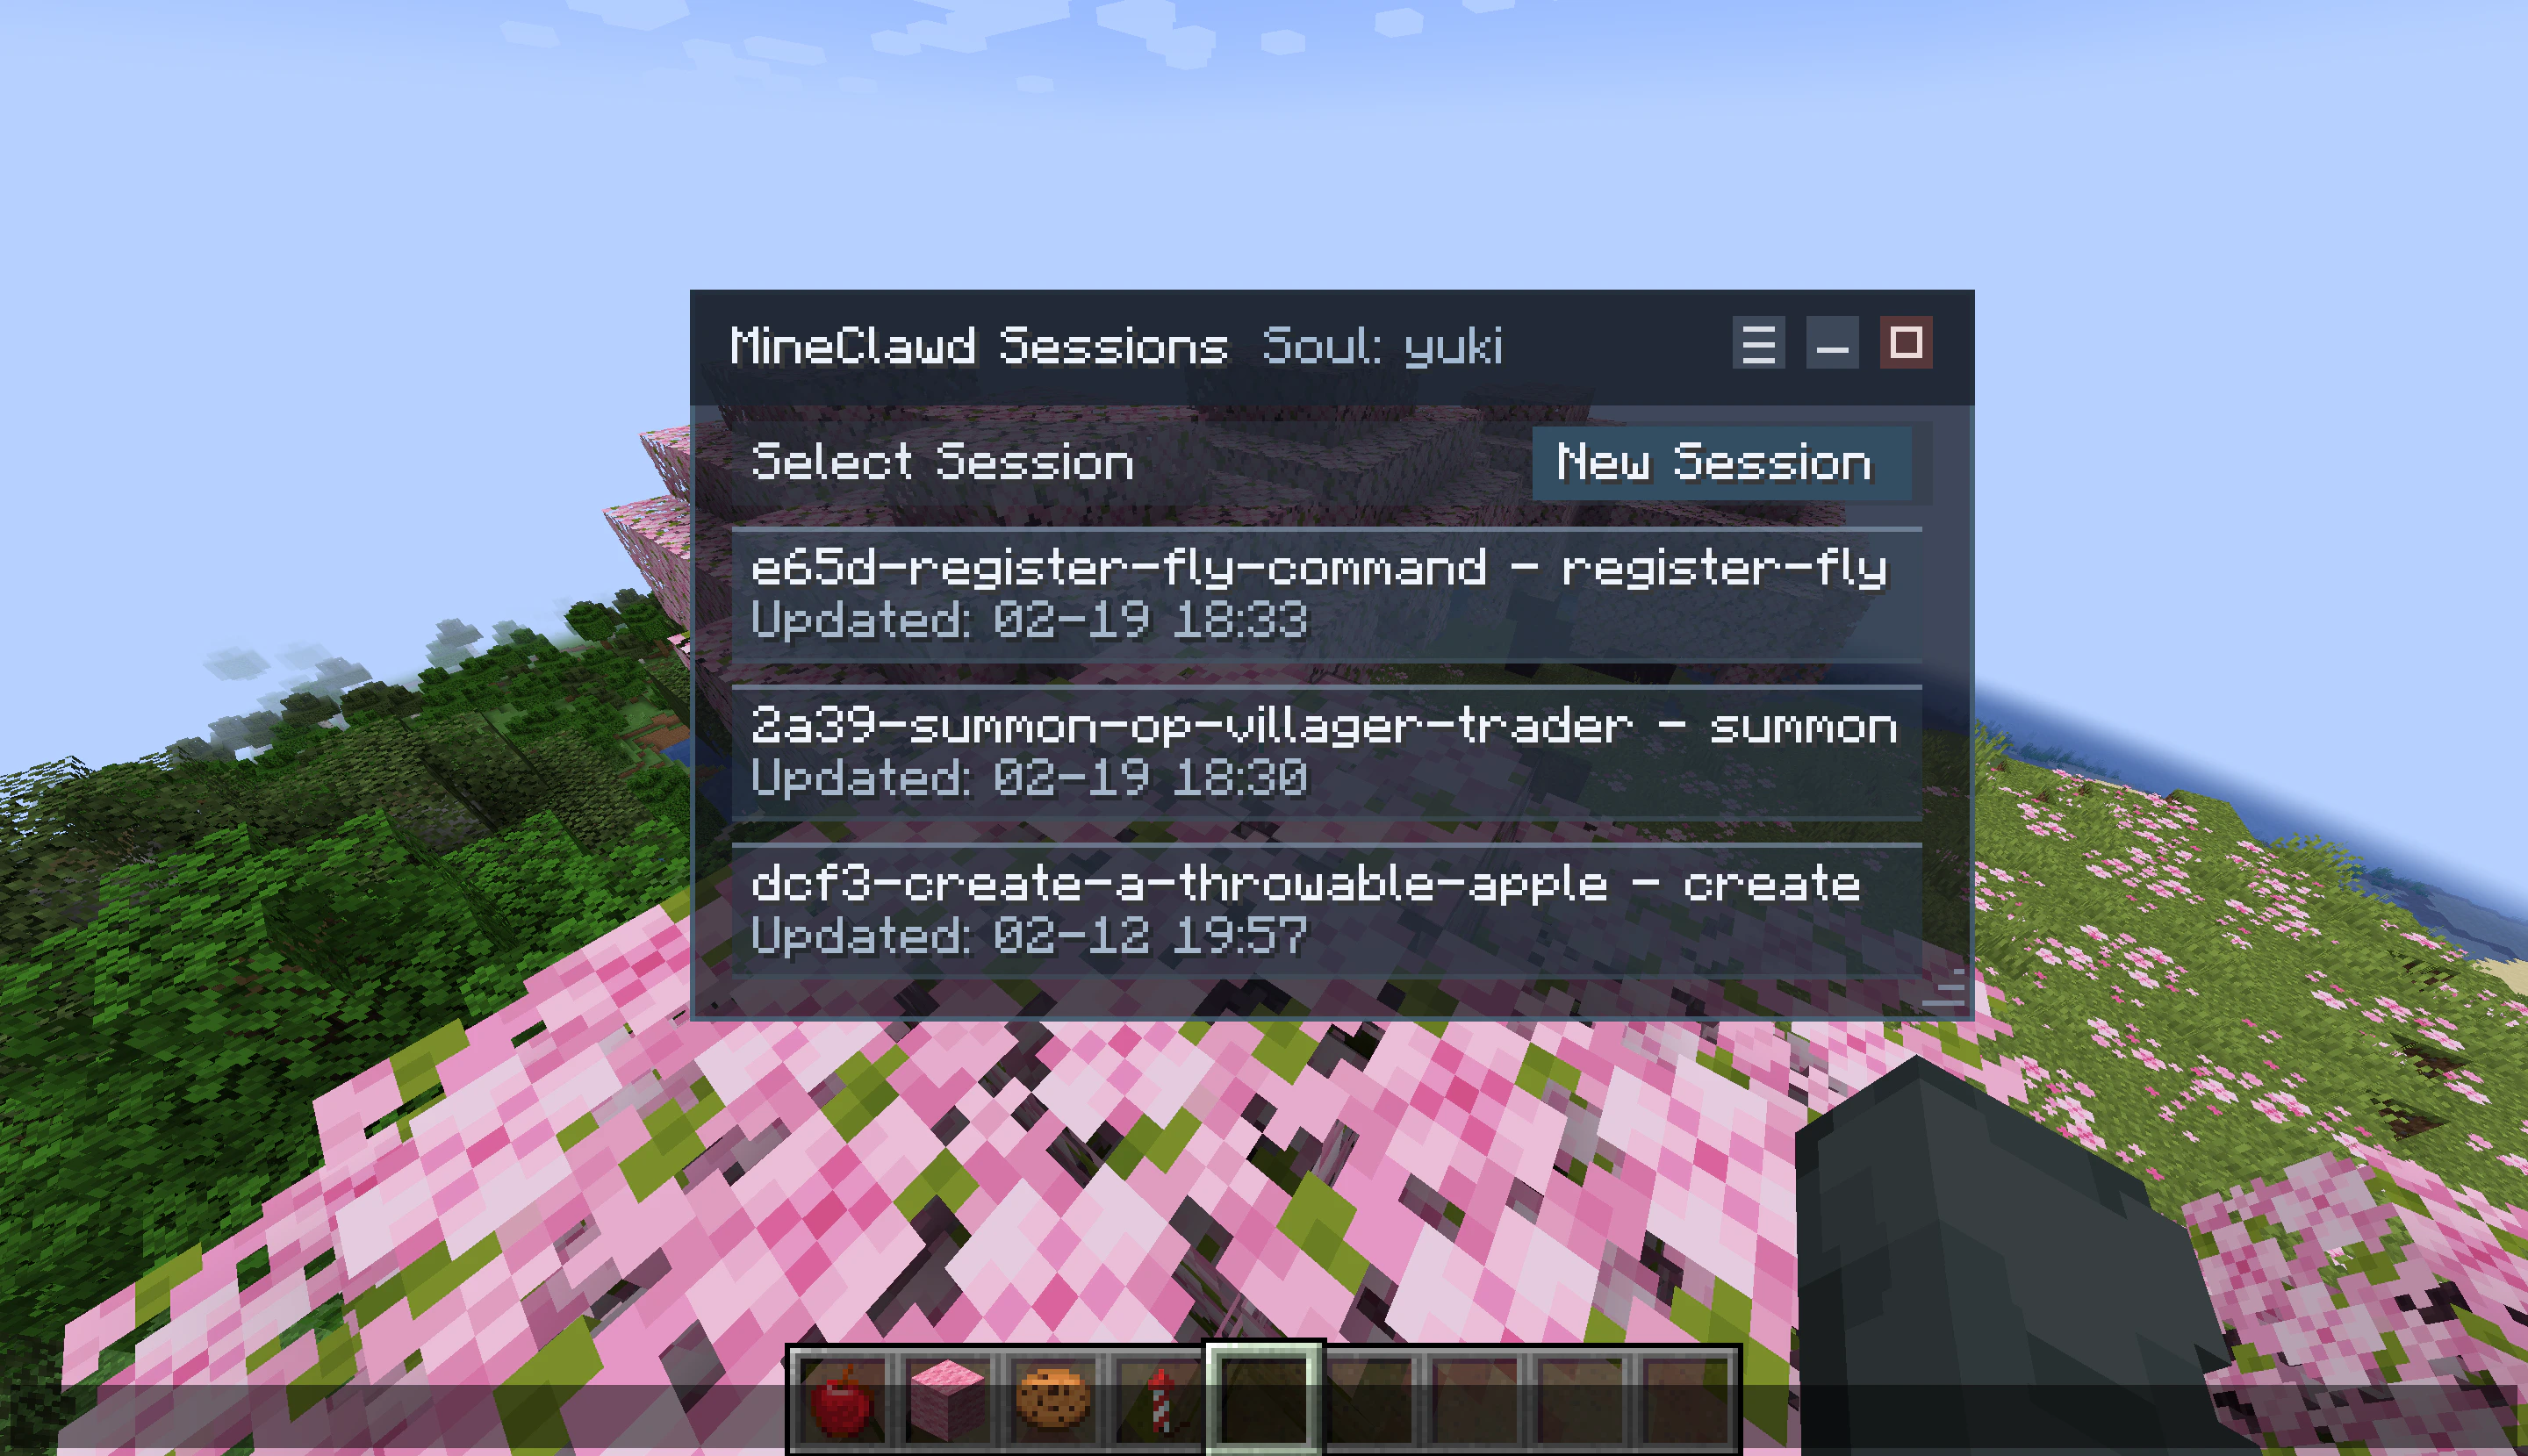 From this view you can:
* Click **New Session** to create and switch to a fresh session.
* Click any session row to switch to it. The active session is highlighted.
* View session titles and last-updated timestamps at a glance.
Click the back arrow or select **Response** from the menu to return to the conversation view.
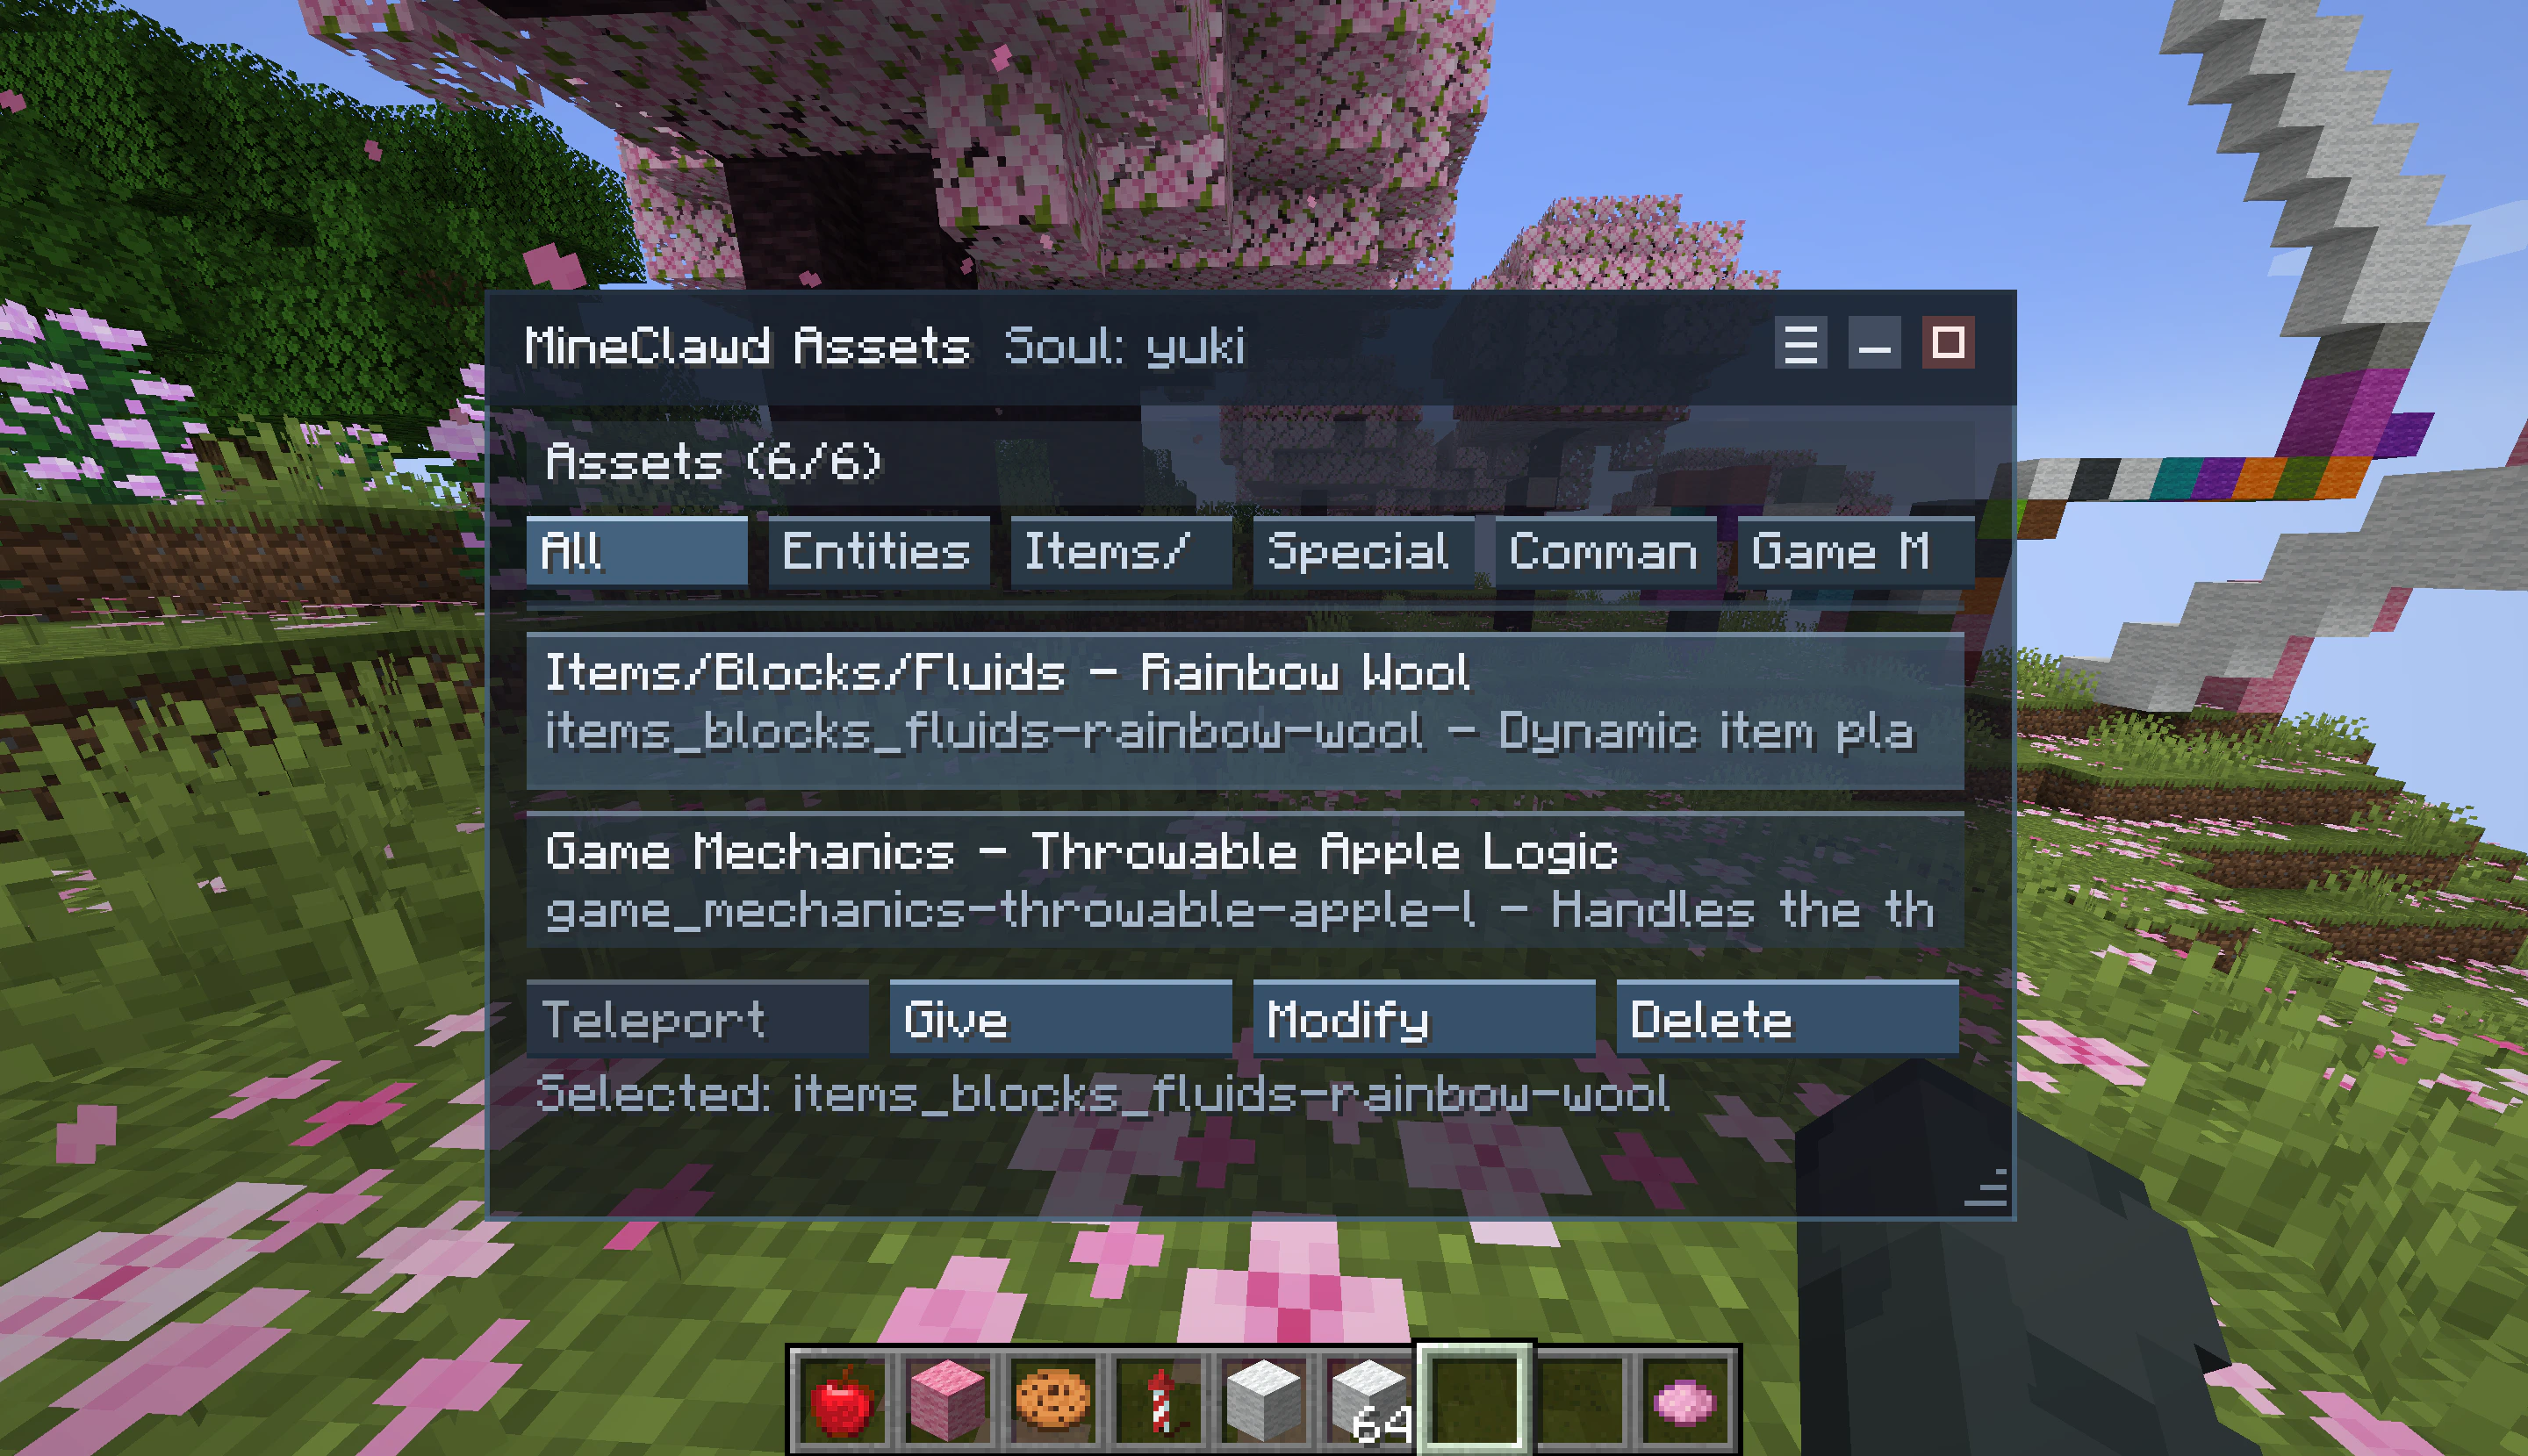
## Browsing assets
Click **Assets** in the menu to open the asset inventory. See [tracking assets](/tutorials/tracking-assets) for a full walkthrough.
From this view you can:
* Click **New Session** to create and switch to a fresh session.
* Click any session row to switch to it. The active session is highlighted.
* View session titles and last-updated timestamps at a glance.
Click the back arrow or select **Response** from the menu to return to the conversation view.
## Browsing assets
Click **Assets** in the menu to open the asset inventory. See [tracking assets](/tutorials/tracking-assets) for a full walkthrough.
 ## Minimizing and restoring
Click the minimize button (dash icon) in the header to collapse the overlay back to the AssistiveTouch orb. Click the orb to restore it.
You can drag the orb to reposition it. Your orb placement persists for the session.
## Input isolation
While the overlay is expanded, keyboard and mouse input is captured by the overlay. Typing, scrolling, and clicking do not bleed through to chat, inventory, or other screens.
Standard text editing works in the input bar: Ctrl+A (select all), Ctrl+C (copy), Ctrl+X (cut), Ctrl+V (paste), Home, End, and Ctrl+arrow for word jumps.
## Disabling the GUI
If you prefer chat-only interaction, disable the overlay in config:
1. Open **Mod Menu** -> **MineClawd** -> **Configure**.
2. Set **Enable GUI** to OFF.
3. Save.
When the GUI is disabled, all commands still work through chat. Dynamic content sync remains active so runtime placeholders render correctly.
You can also toggle the AssistiveTouch orb per player:
```bash theme={null}
/mineclawd assistivetouch
```
This hides the orb without disabling the full GUI system. Run it again to show the orb.
## Related pages
* [Tracking assets](/tutorials/tracking-assets)
* [Managing sessions](/tutorials/managing-sessions)
* [Configuration reference](/configuration/complete-config)
* [Stop command](/commands/stop)
* [AssistiveTouch command](/commands/assistivetouch)
## Minimizing and restoring
Click the minimize button (dash icon) in the header to collapse the overlay back to the AssistiveTouch orb. Click the orb to restore it.
You can drag the orb to reposition it. Your orb placement persists for the session.
## Input isolation
While the overlay is expanded, keyboard and mouse input is captured by the overlay. Typing, scrolling, and clicking do not bleed through to chat, inventory, or other screens.
Standard text editing works in the input bar: Ctrl+A (select all), Ctrl+C (copy), Ctrl+X (cut), Ctrl+V (paste), Home, End, and Ctrl+arrow for word jumps.
## Disabling the GUI
If you prefer chat-only interaction, disable the overlay in config:
1. Open **Mod Menu** -> **MineClawd** -> **Configure**.
2. Set **Enable GUI** to OFF.
3. Save.
When the GUI is disabled, all commands still work through chat. Dynamic content sync remains active so runtime placeholders render correctly.
You can also toggle the AssistiveTouch orb per player:
```bash theme={null}
/mineclawd assistivetouch
```
This hides the orb without disabling the full GUI system. Run it again to show the orb.
## Related pages
* [Tracking assets](/tutorials/tracking-assets)
* [Managing sessions](/tutorials/managing-sessions)
* [Configuration reference](/configuration/complete-config)
* [Stop command](/commands/stop)
* [AssistiveTouch command](/commands/assistivetouch)